When it comes to pressing your new album to CD you’re faced with the choice between CD replication and CD duplication. Both pressing formats have their attributes and advantages, so it comes down to which works best for your album and distribution plan. Let’s break it down for you!
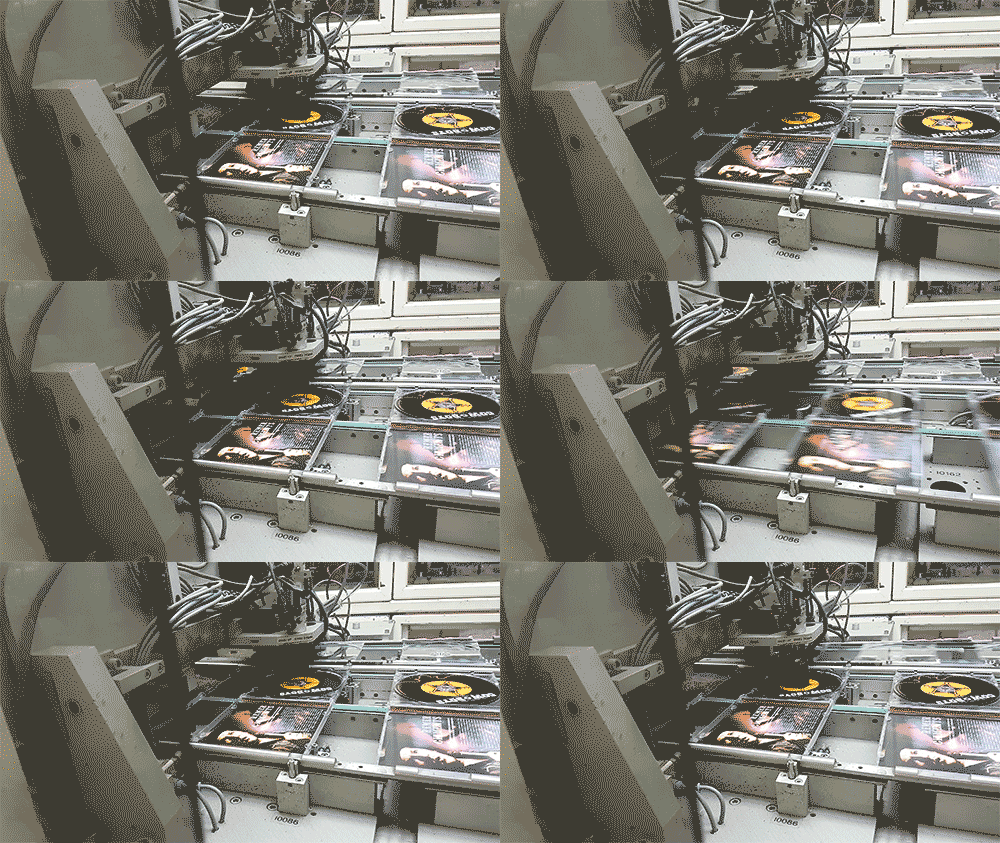
CD Replication (AKA CD Pressing)
If you’re serious about your next album and you want the presentation to be as important as the music itself, CD replication is the way to go. CD replication uses a glass master disc for professional mass production. The underside of the disc is a reflective silver, just like the major label CDs you buy at record stores. Our silkscreen CD printing can handle any variation of colours, but even just two colours is enough to make your disc pop. We also apply an AQ gloss to the disc so you won’t leave behind smudges or fingerprints when taking your CD in and out of its case. You can even personalize your discs by adding “pit art” to the unused section of the disc underside.
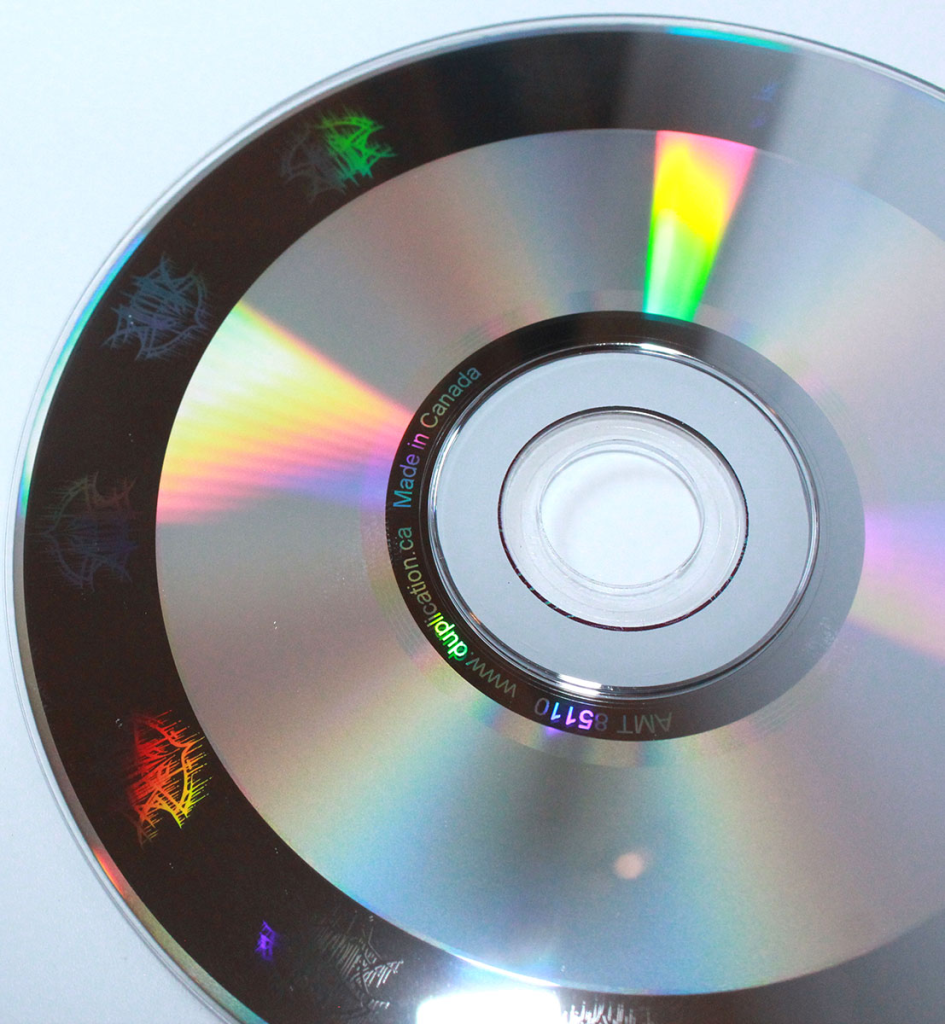
In other words, if you or your band want to make a big impression, CD replication is the way to go. It is the standard for major label releases and goes a long way in illustrating that you’re in for a professionally produced listening experience. As the lasers on CD and DVD players tend to age and disrupt playback, replicated discs are much more reliable for weak lasers and older disc players. CD replication gives the respect your fans deserve by granting clean and glitch-free playback whether at home or on the car stereo.
CD Duplication
If you’re looking for a small run of CDs to sell as merch at live shows, say less than 250 copies, then we recommend CD duplication. Using your 44.1 kHz / 16-bit lossless files as a master, we duplicate your CDs by hand, undergoing quality assurance checks to make sure there are no transferred errors. Alternatively we accept master discs in lieu of WAV files, wherein we run scans to make sure the disc is clean and safe to duplicate. We duplicate using high quality CD-Rs with a light-green underside, much superior to the discs you would find at your local electronics stores which are prone to errors.
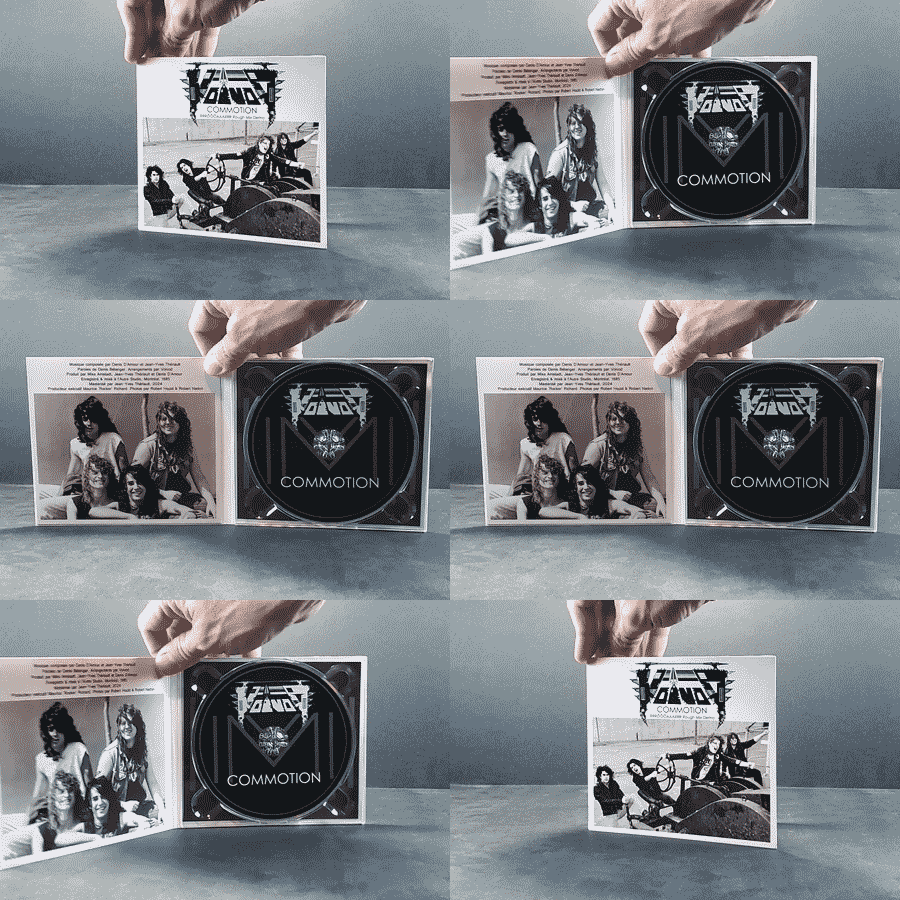
CD Duplication and CD replication have the same packaging options, but for the most bang for your buck take a look at our 2-panel cardboard sleeves. With full colour print on both front and back of the packaging, the lightweight design of the 2-panel sleeves are perfect for touring and bringing from one venue to another. If you need extra space for artwork or liner notes, upgrade to our 4-panel cardboard sleeves or Digipaks, which open up like a book and add two spaces for additional artwork.
CD duplication is also ideal for short-run discs that are intended as promo or giveaways. If you’re distributing PDF files at a conference or sending demo discs to radio stations, sometimes a simple paper sleeve with a window is enough, which you can order from our bulk packaging CD duplication page.
Whichever method you choose, Duplication.com promises excellent quality on printing and pressing with every order. We’ve been pressing and duplicating compact discs for decades, with an eye for detail and extra attention to quality assurance. We’re always happy to answer questions, so don’t be afraid to shoot us an email or give us a call at 1-800-777-1927.





 Printed VHS sticker labels